wsu-mis-362
This project is maintained by zwentt
Install PureOS on the Virtual Machine
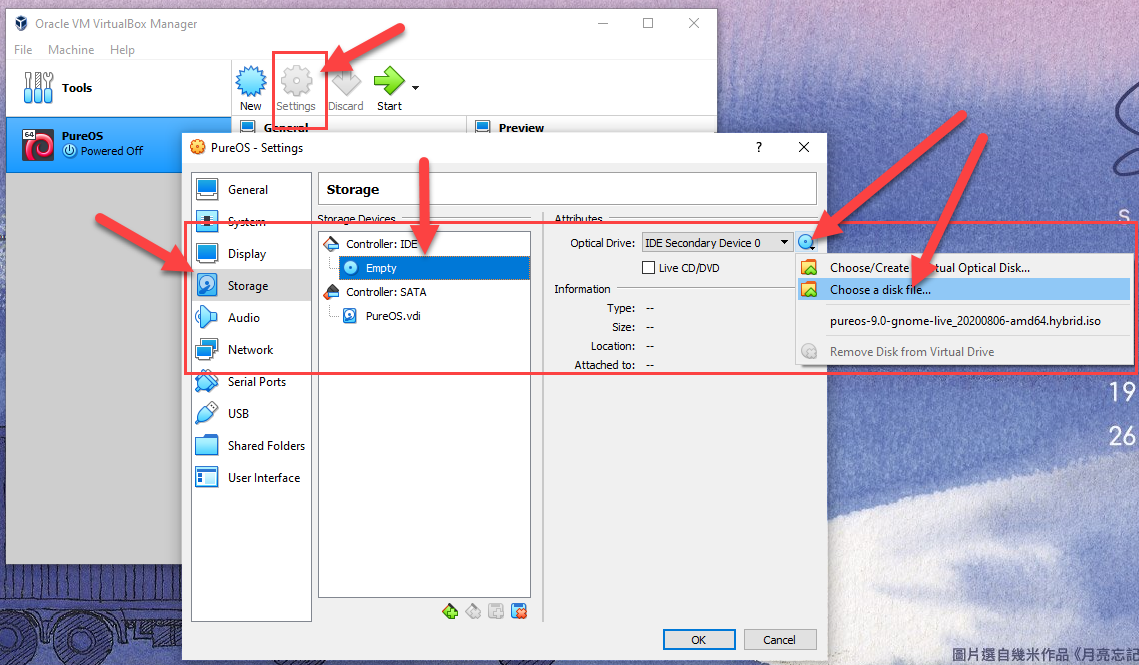
Step 1. Load the downloaded .ISO image file in the Settings > Storage > Optical Driver > Choose a disk file. Then, click OK to confirm.
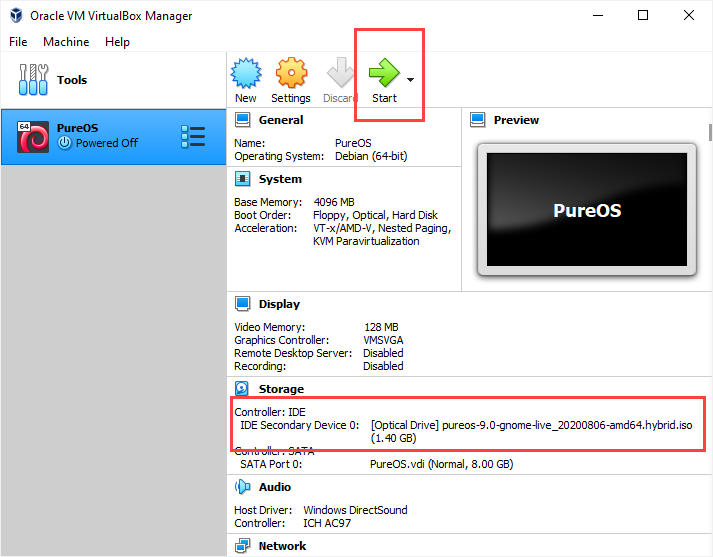
Step 2. Start the machine. Note that the image file is currently loaded under Controller: IDE.
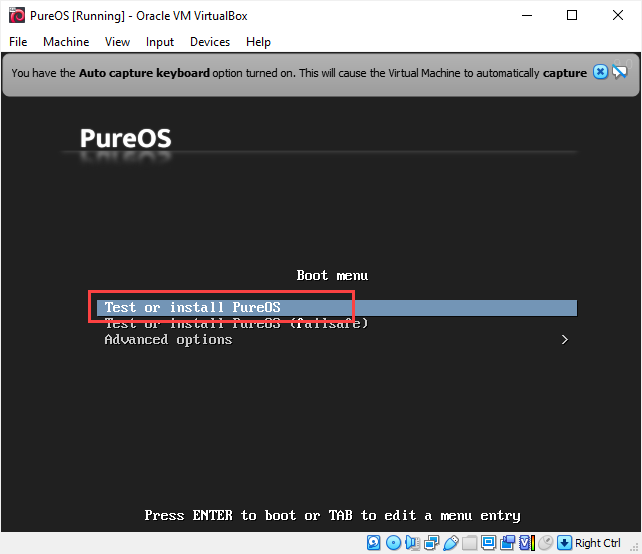
Step 3. Select Test or Install PureOS option.
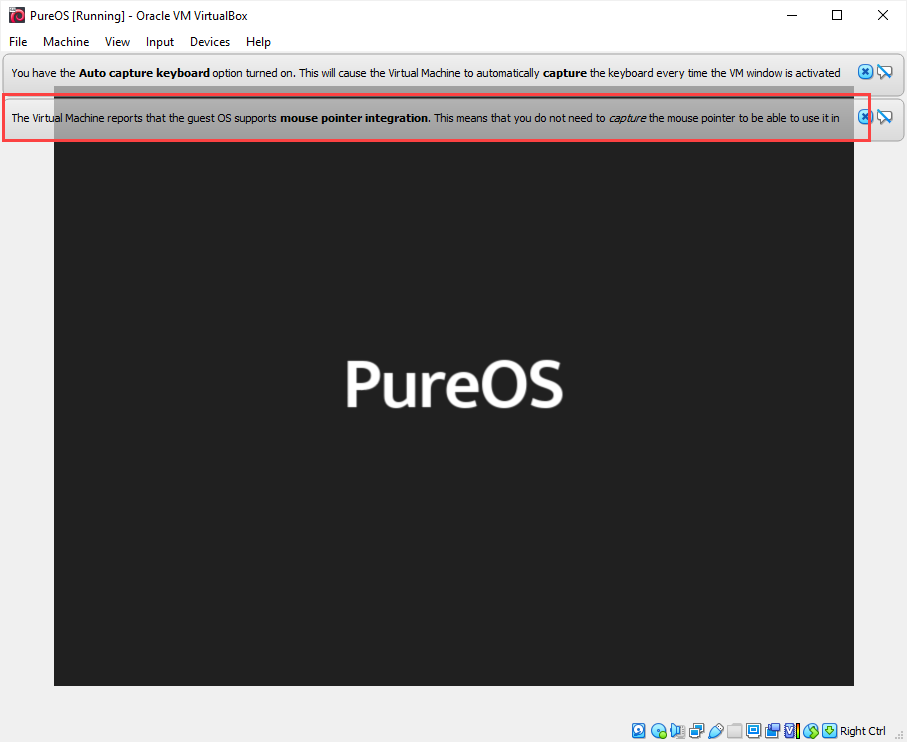
Step 4. Note that the current OS supports mouse pointer integration. That means you no longer need to press Ctrl key to release the pointer. That is good!
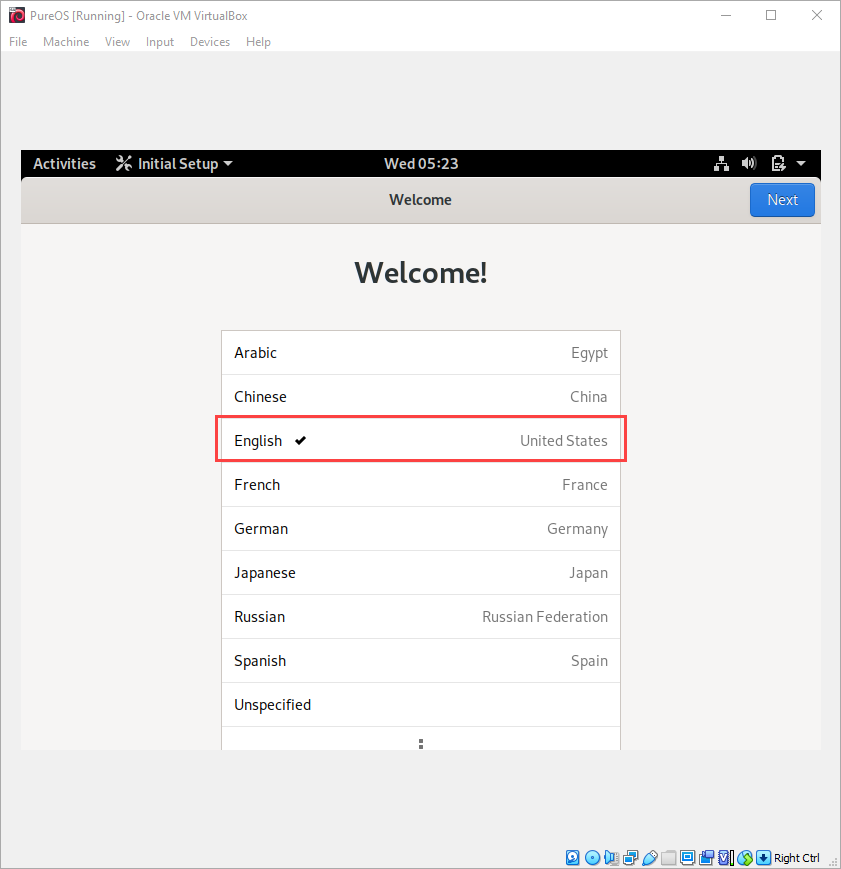
Step 5. Choose language.
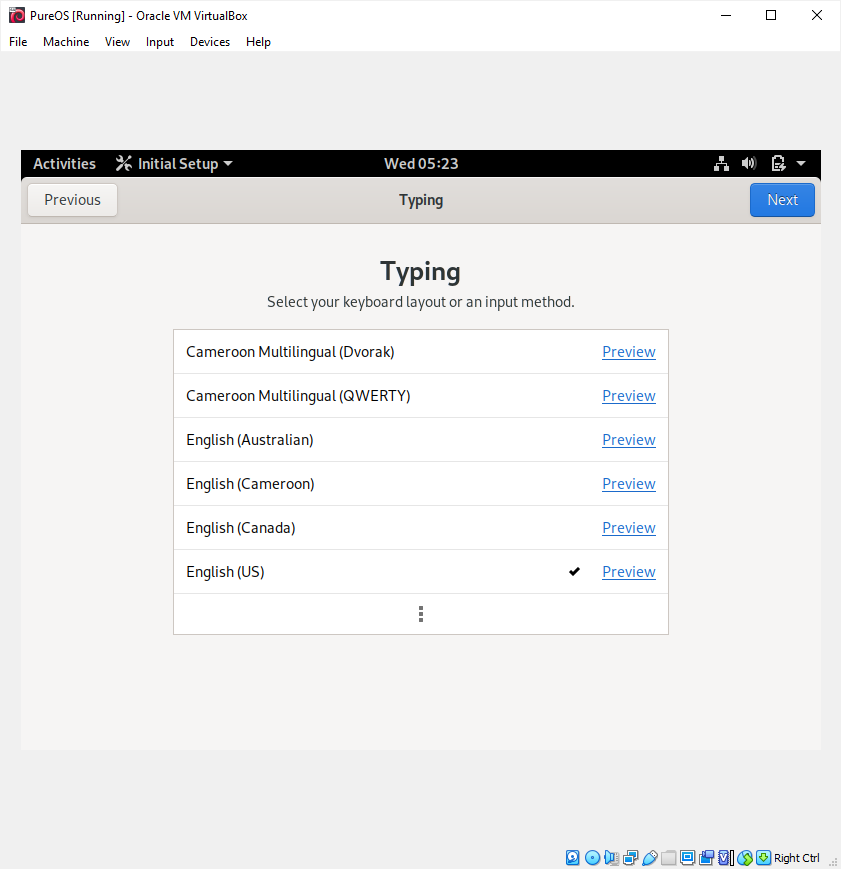
Step 6. Choose Keyboard layout.
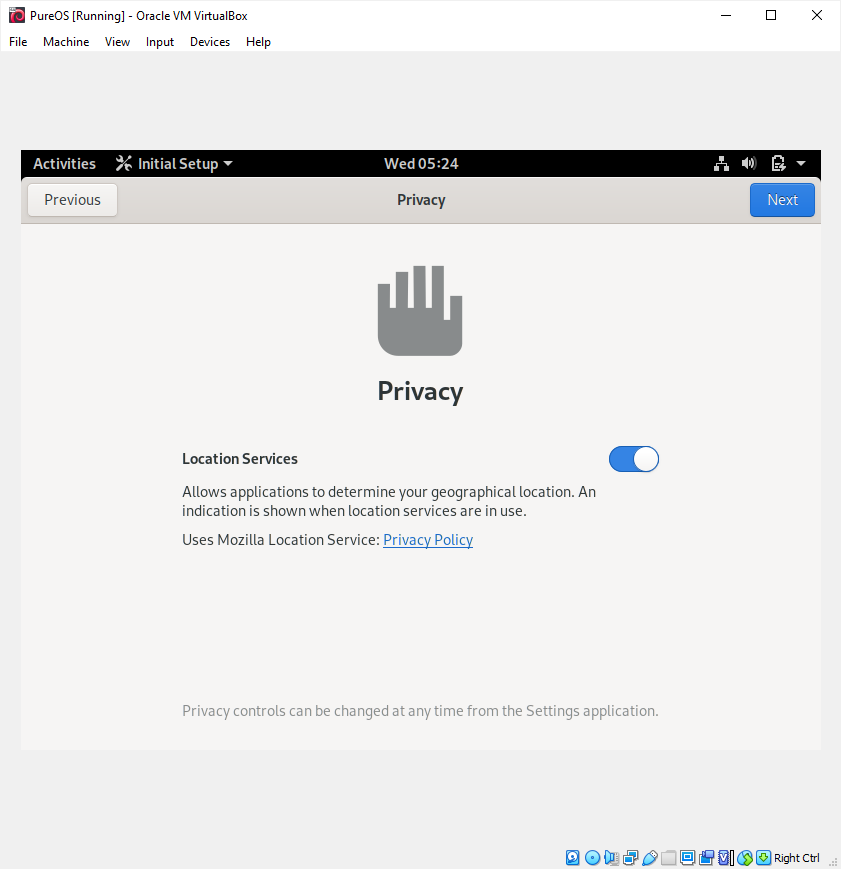
Step 7. Choose Privacy setting.
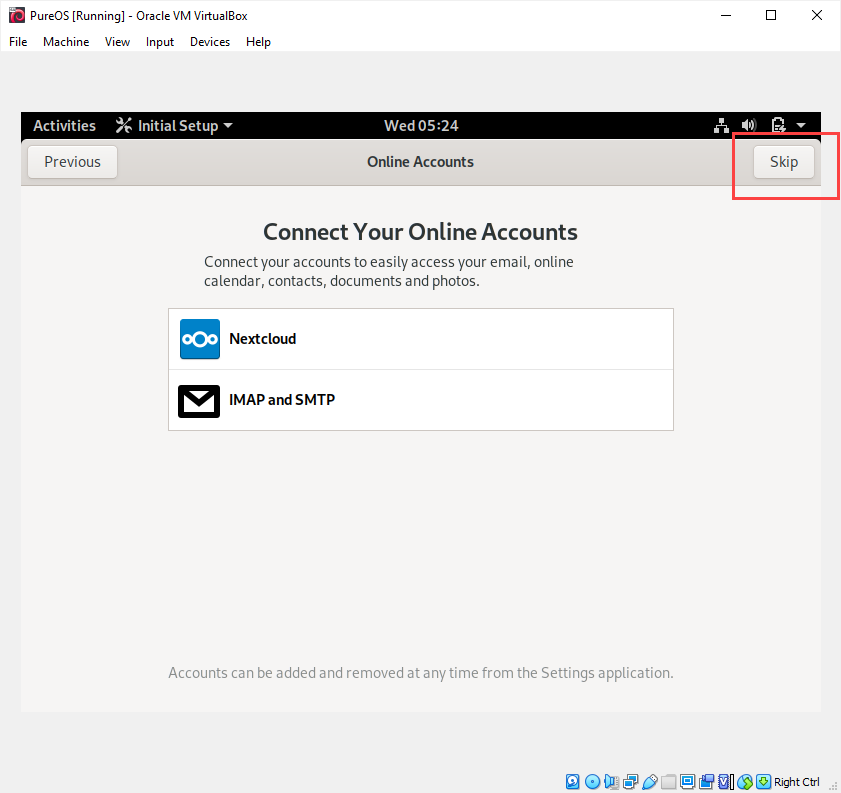
Step 8. Skip this part.
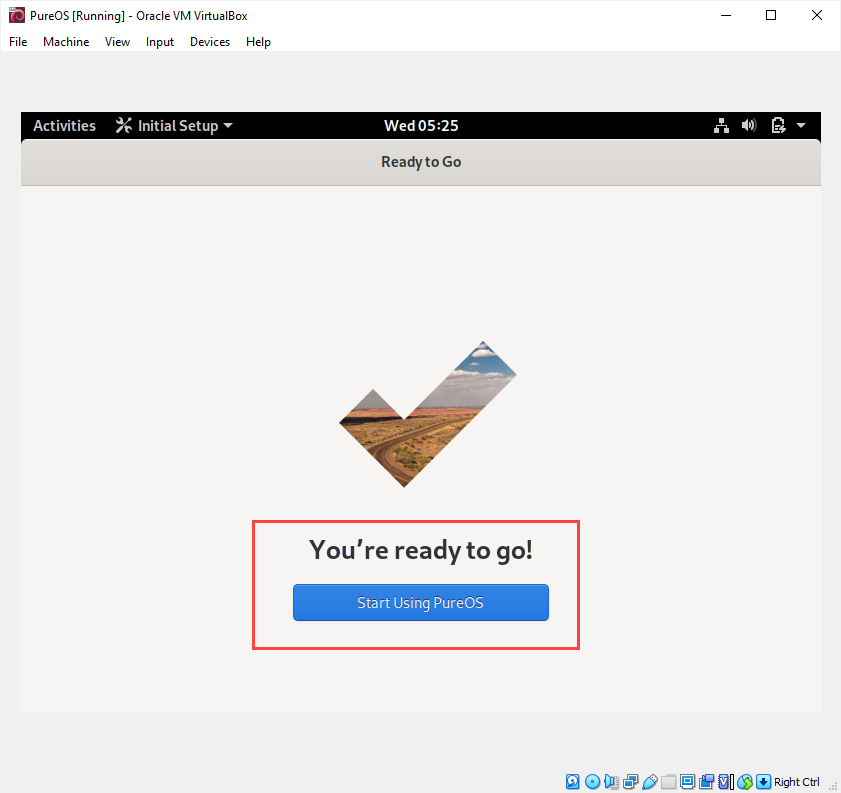
Step 9. A small victory!
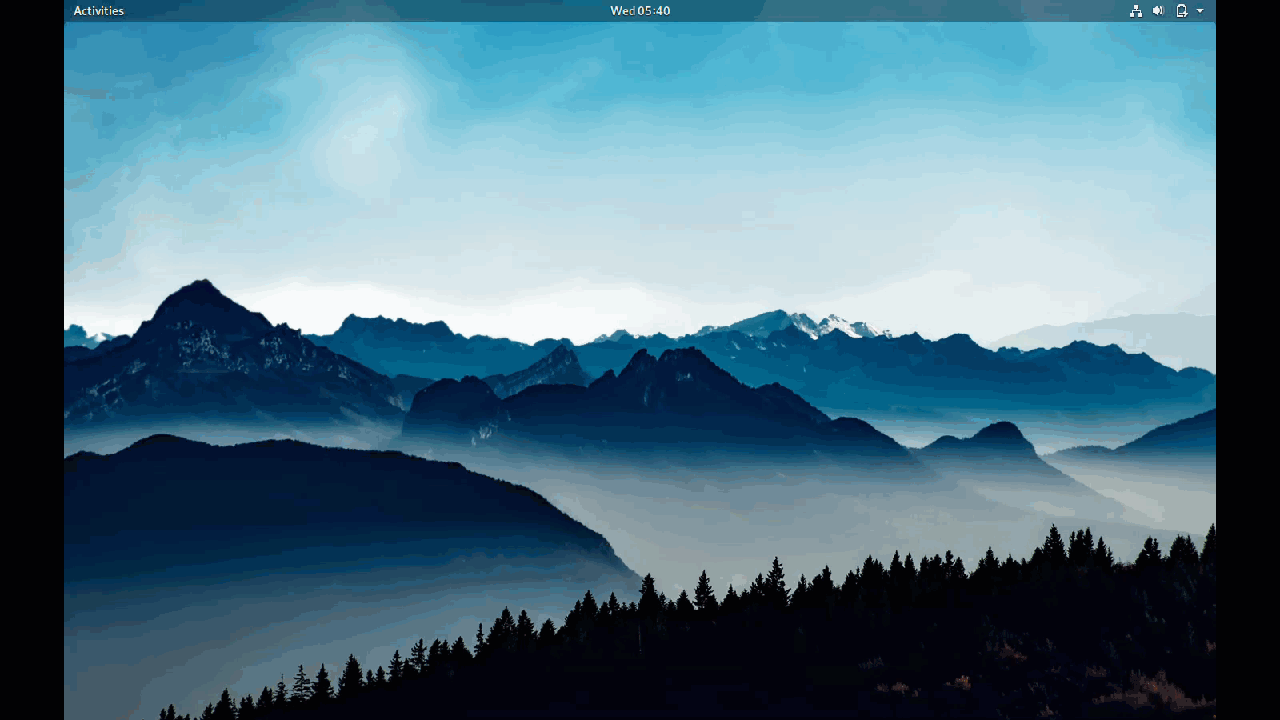
Step 10. Try to change the screen resolution to 1440 x 900. This will allow you to see more contents in the same screen.
Step 11. So far the PureOS is running temporary on the virtual machine. Let’s make the PureOS stay in the virtual machine permanently by install it. This step will take about 10 minutes or longer. You may also experience some hiccups. But eventually you will be fine.
Step 12. After reboot into the PureOS, you will be promopted by a password. Then, you will go through a similar process from step 5 to step 10. After all the steps, you can try to choose to use FireFox browser from Activities to open https://www.winona.edu . That is the big victory!
